
How to Install Windows Directly from Windows Using WinToHDD
1. START:
Standard Windows ISO and WinToHDD Software
If you don’t have them yet, download here:
👉 https://webbanquyen.com/download#1568611233452-d2728236-7f03
Note:
Save the ISO file on a drive that does not contain Windows (usually D, E, G, etc.).
Do not save the ISO on the drive where Windows is installed (usually C:), otherwise you may encounter errors during installation.
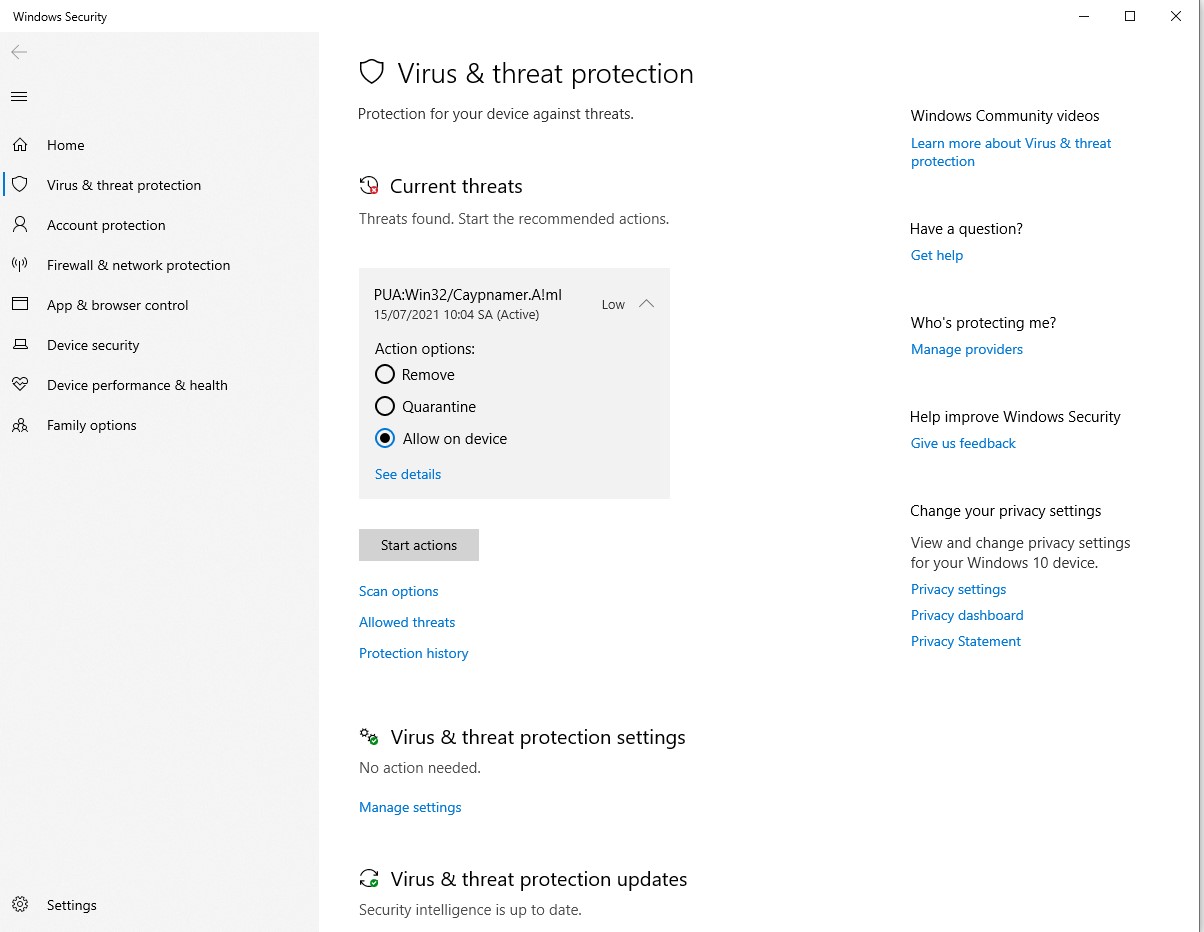
When downloading the software, if a security warning appears,
go to system settings and allow the application to run.
2. Installing Windows
📺 Video tutorial: https://youtu.be/ra0NnbuZswQ
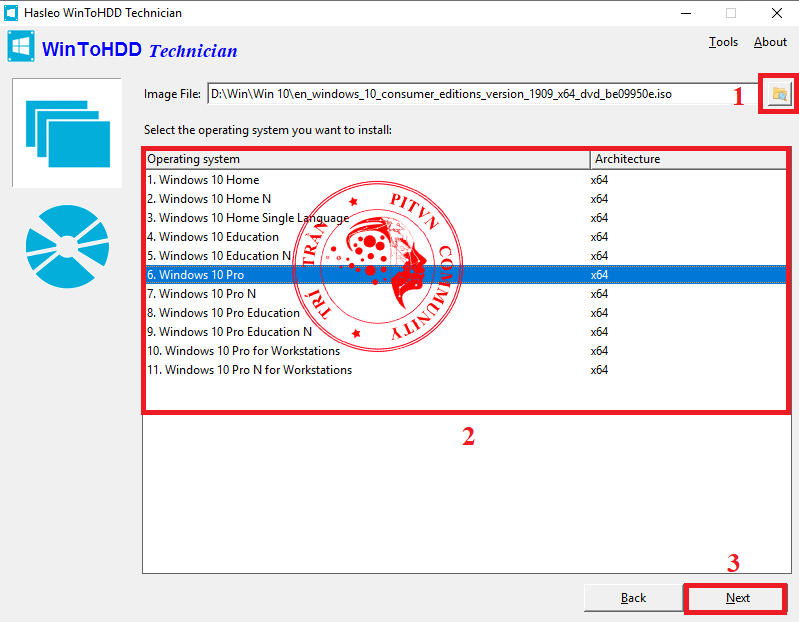
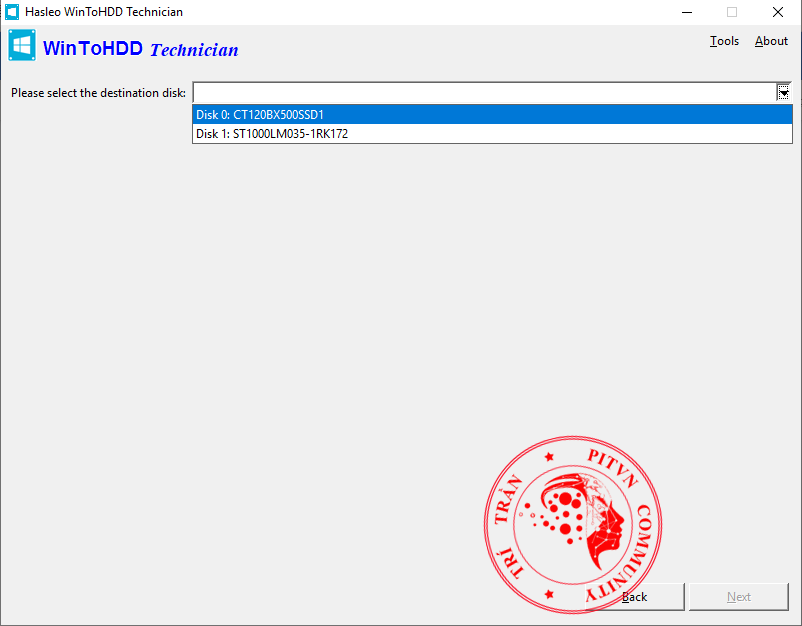
Step 1: Launch WinToHDD.

–
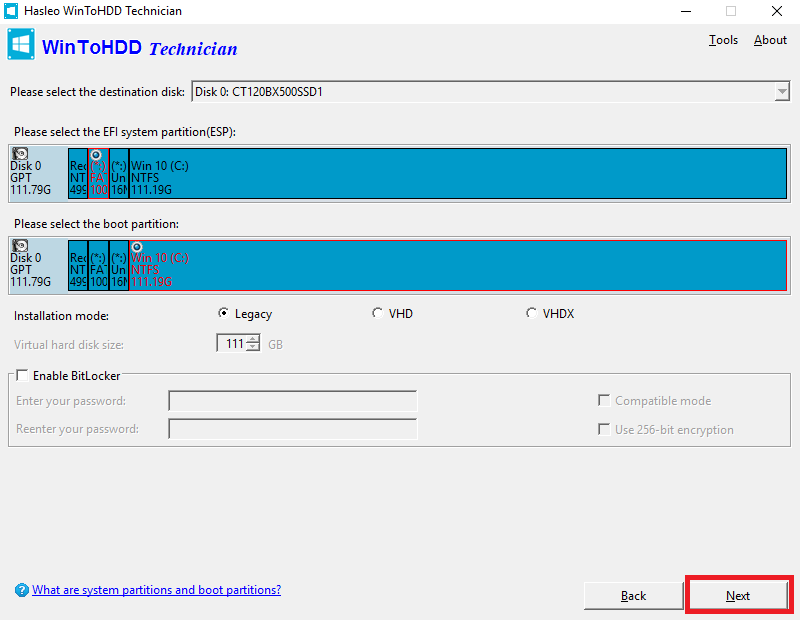
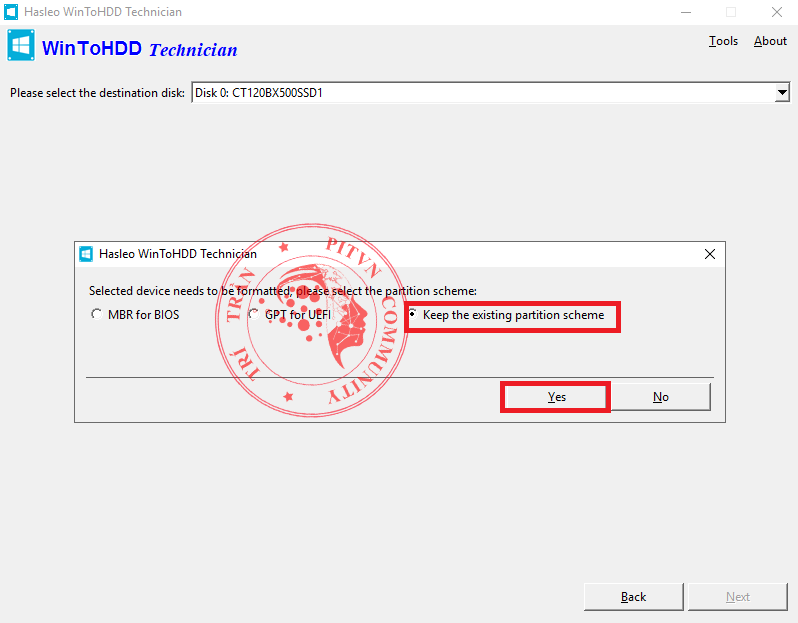
Next, select the partition as shown in the image below → click Next.
Step 4: Click Yes to allow the software to create a WinPE image file, which is required for installing Windows from the hard drive.


After clicking Yes, the process of creating the WinPE image will begin, as shown in the image below.
Step 5: Once the process is complete, a notification will appear stating that all data on the selected partitions (ESP and drive C) will be erased.
Do you want to continue?
→ Click Yes to proceed.

STEP 6: Yes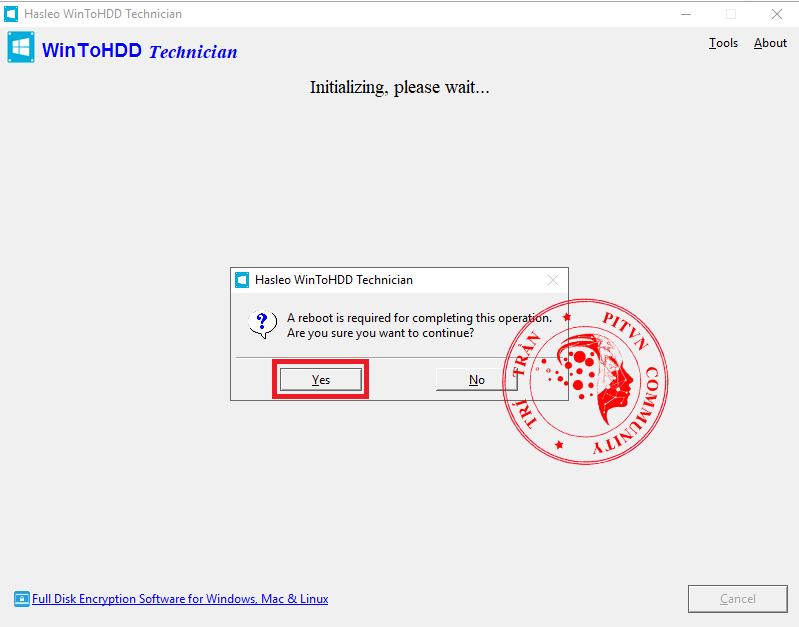

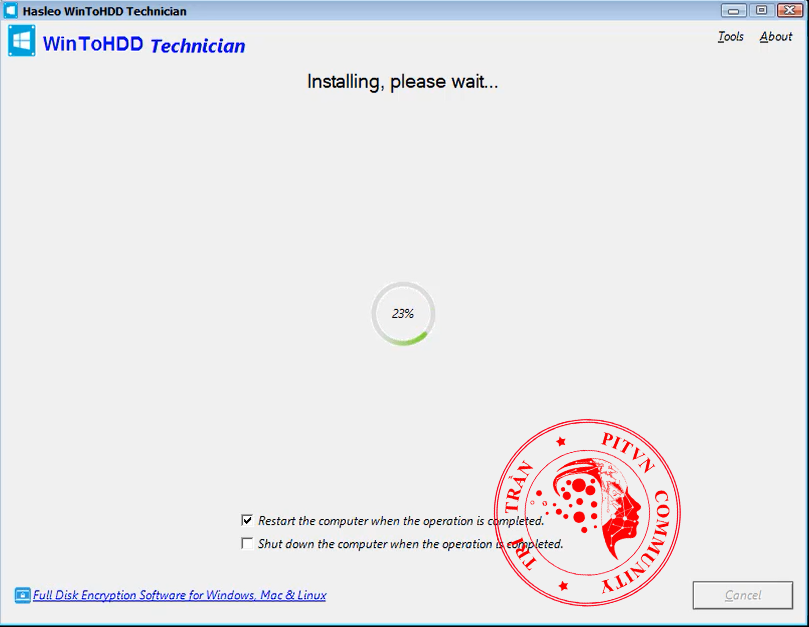
Once this process reaches 100%, the computer will restart.
Step 8: Wait patiently while Windows finishes the installation.
STEP 9: Region 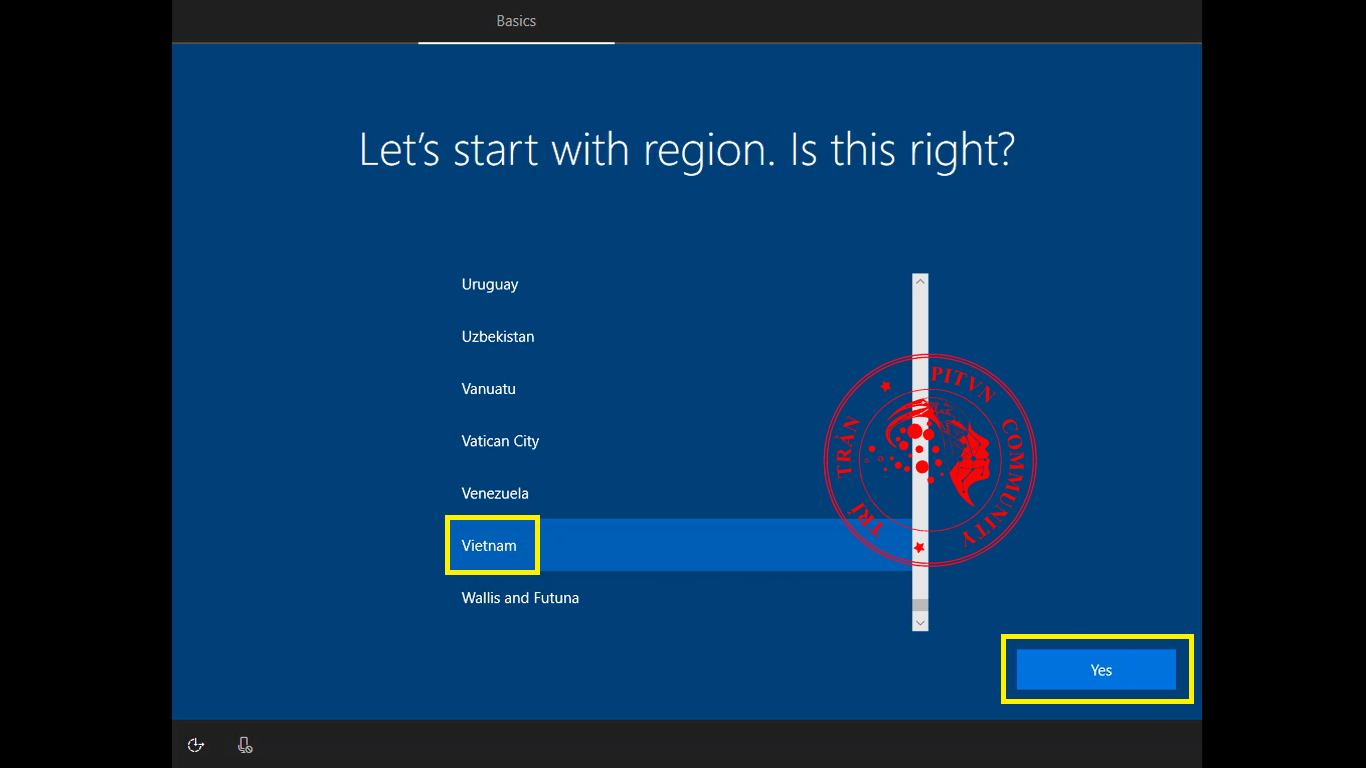
⇒ Next
STEP 10: keyboard US =>Yes

– Skip 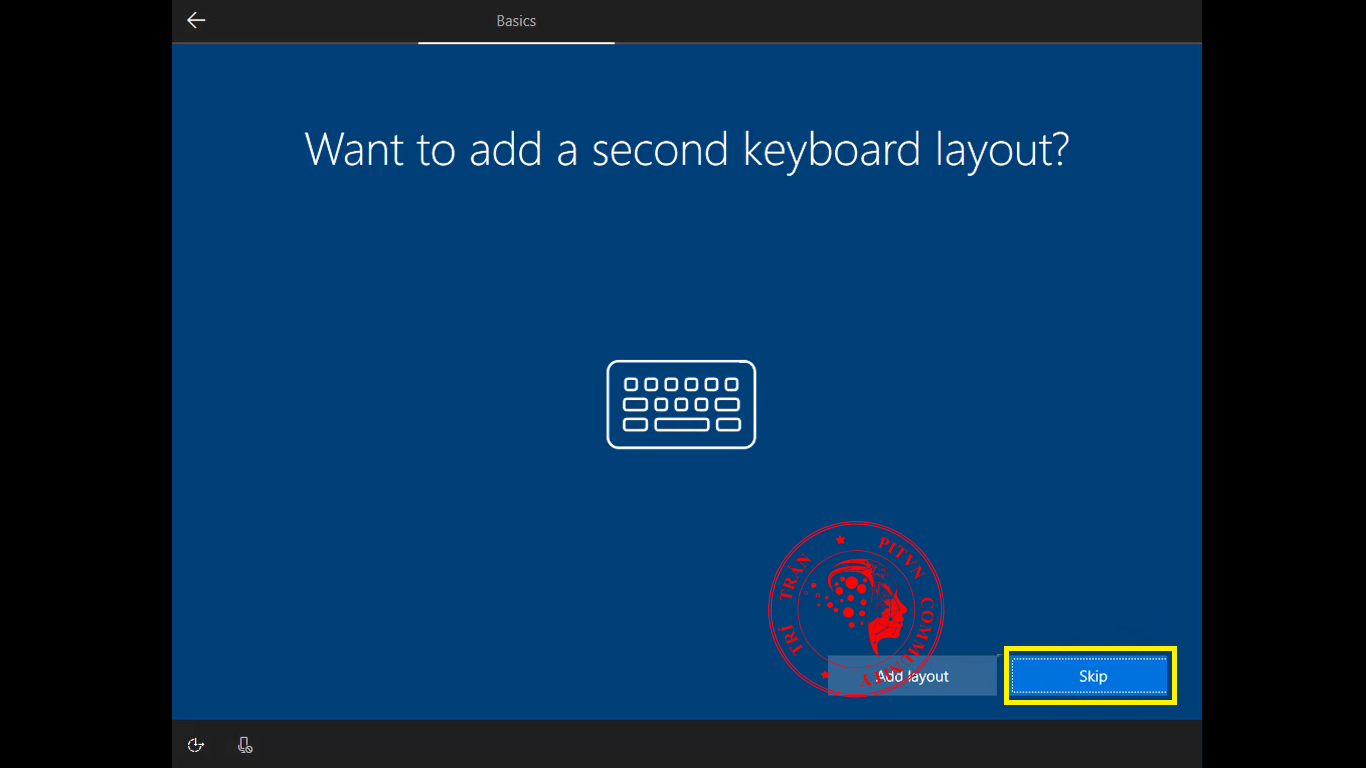
STEP 11: Accept

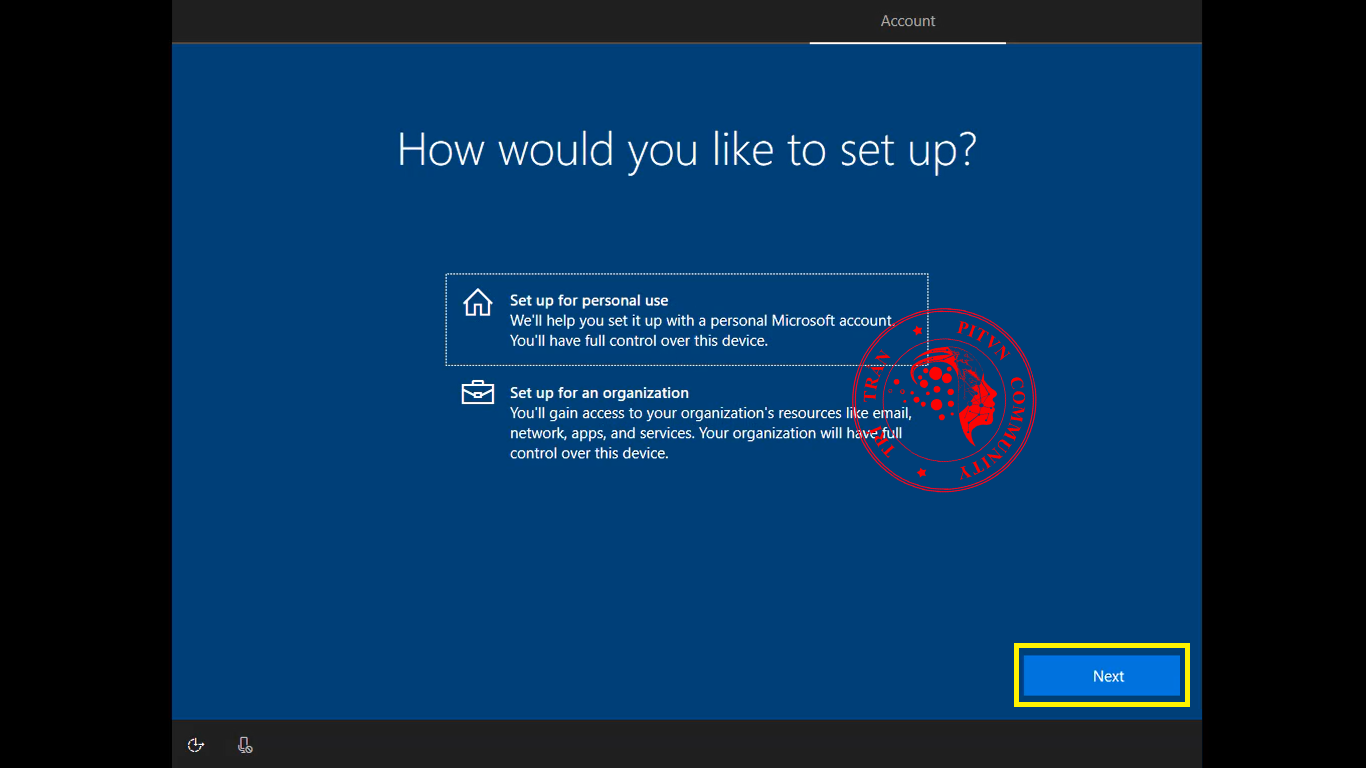
STEP12: Set up for personal use => Next
STEP 13:
At this step, sign in with your Microsoft account.
If you don’t have a Microsoft account or prefer not to sign in, choose Offline Account.
Offline Account
– Limited experience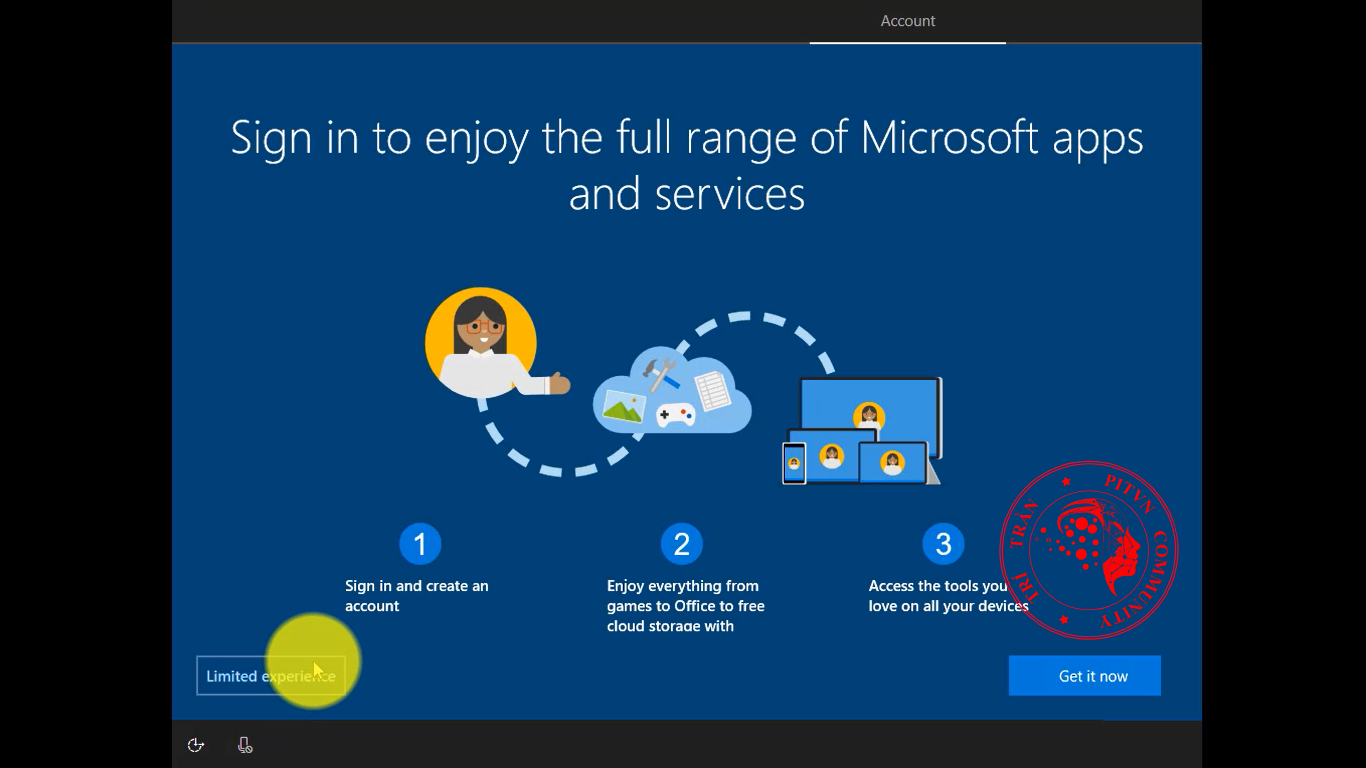
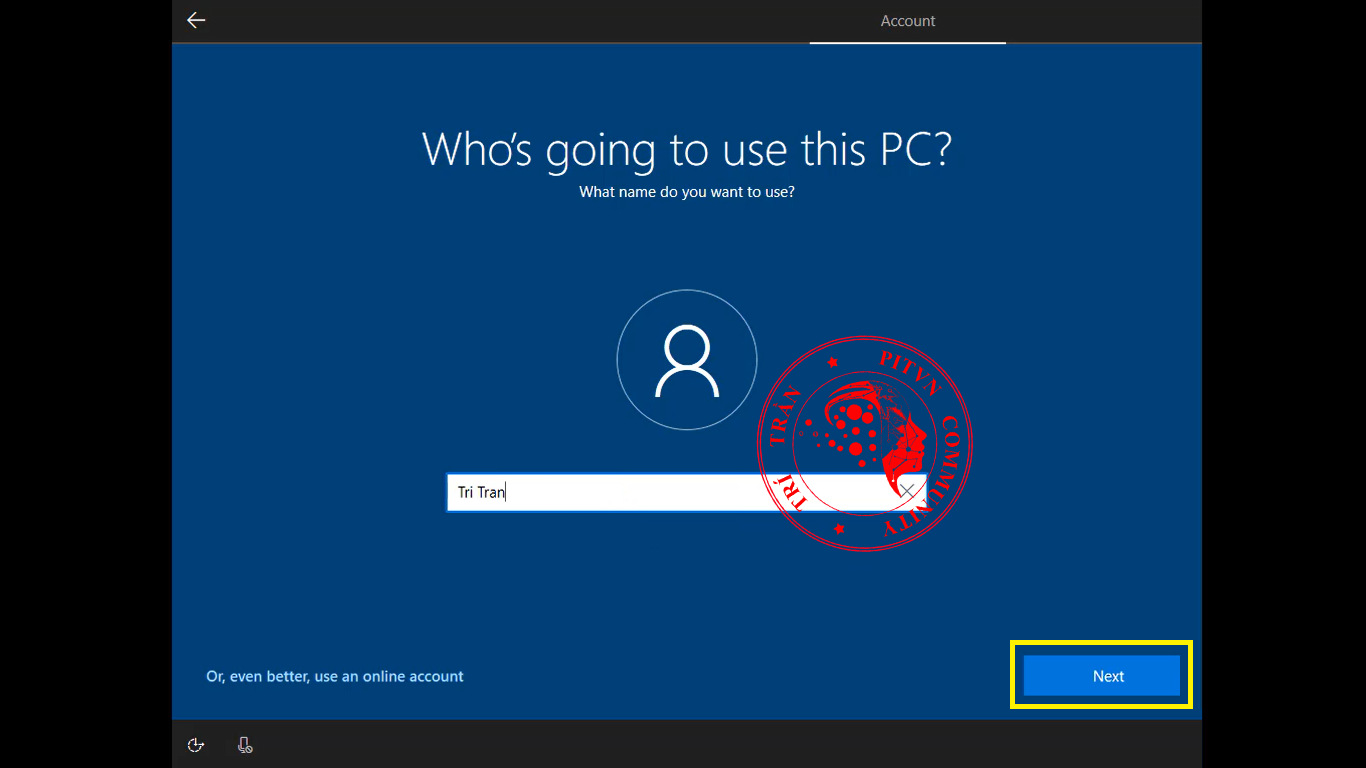
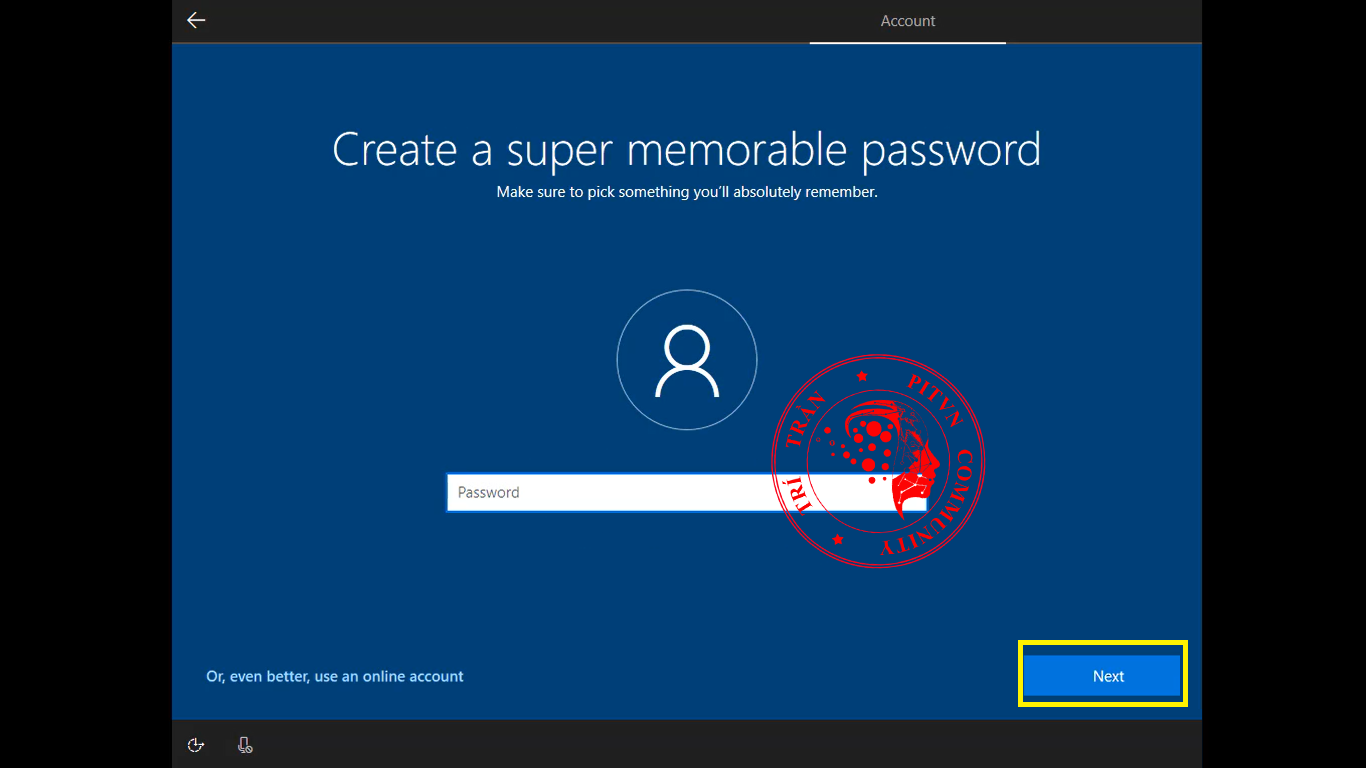
STEP 14:
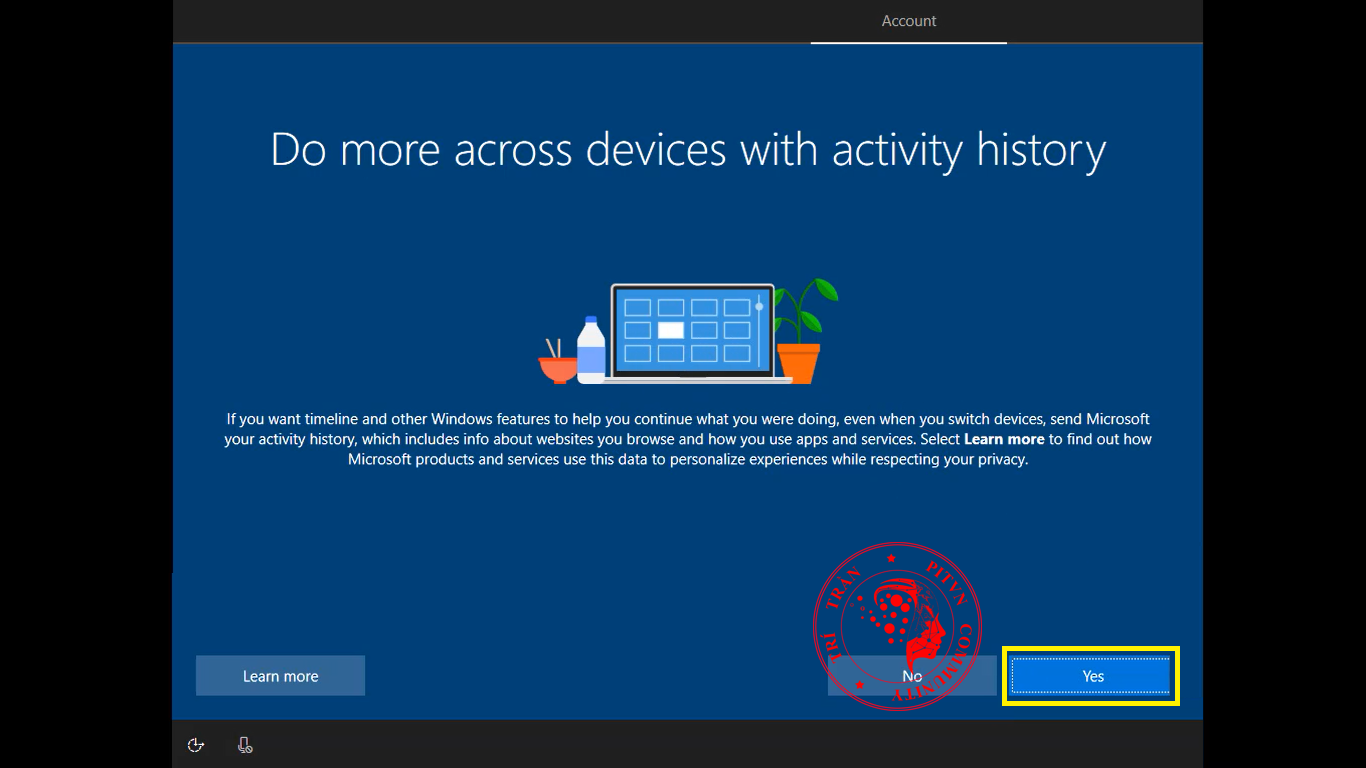
STEP 15: Yes
STEP16:

Turn off the following three options:
Inking & typing
Diagnostic data
Tailored experiences
Then click Accept.
Step 17:

Waiting is happiness.
After a short while, the Windows installation will be completed, and you’ll be taken into Windows.

DONE